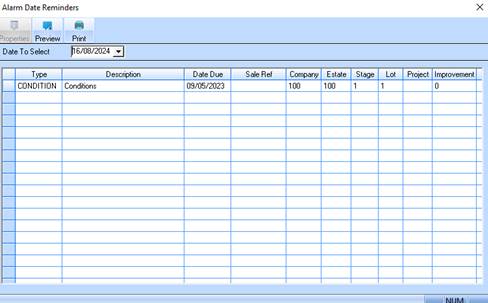
The alarm dates window allows you to get a view of all sales whose alarm dates falls on a certain date.
1. Select the Alarm button or the Menu Path Transactions Ø Alarm Dates.
2. The following window will be displayed:
3. To display the properties of the line item, select it and press the Properties button. The following window will be displayed:
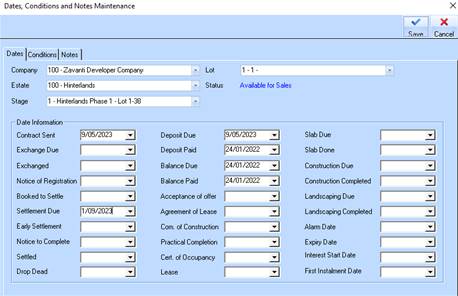
4. On the Dates window you can input scheduled dates for Build and Sales activities. Press the Conditions tab. The following window will be displayed:
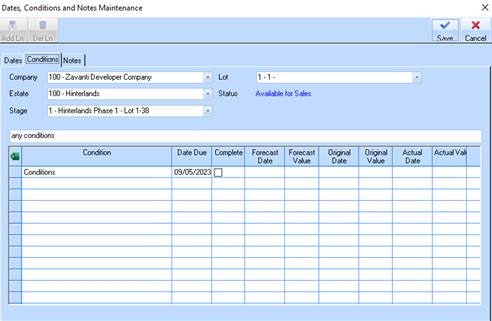
5. The conditions window allows you to type in a long hand condition of a sale. This condition is the ONLY condition that is kept in the sales contracts table along with the primary sale and is available using the ODBC word processing features to create your printed contract.
6. Press the Notes tab. The following window will be displayed:
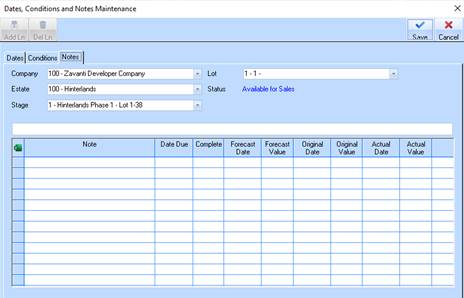
7. To add a note regarding the Lot, select the Add Ln (Line) button. The line will be enabled and your cursor positioned in the Notes field. Enter some text and press Tab.
8. The Date Due field is used to indicate the alarm date for the activity. Enter a date in the past and press the Save button. To indicate that you have finished processing, press the Cancel button.