There are several very important settings that are kept against each estate and will determine how the sales and costing processes for each stage and lot work within the estate.
For instance it is against the estate that you decide whether you want to use single or multiple cost of sales and/or management fee rules to calculate the Lot Cost of Sale. It is important that you think about and plan the settings you make here carefully.
You cannot delete an Estate; you must use the Close an Estate function to move the estate to history.
To create a new Estate:
1. Select the New Icon from the Toolbar or the following Menu Path File Ø New.
2. The following window will be displayed:
3. The Estate Code field is used to enter the code by which you will know your estate. This code will appear in selection boxes, on reports and in display only fields whenever you are dealing with this estate. It can be up to 5 characters long and must be entered when creating a new estate. Enter a 5 character value and press the Tab key.
|
|
Once saved, the Estate Code value may not be changed. |
4. The Estate Name field is used to enter the long hand name by which you wish to know your estate. This name will appear on headings on reports and in selection boxes when choosing and dealing with this estate.
5. Type in a name and press the OK button.
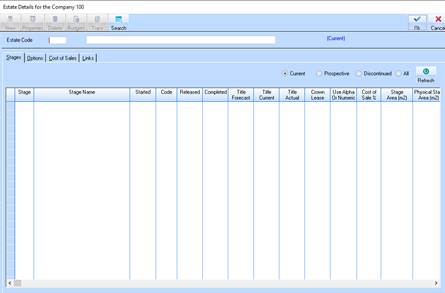
6. You will be returned to the refreshed main window. Select the Options Tab. The following window will be displayed:

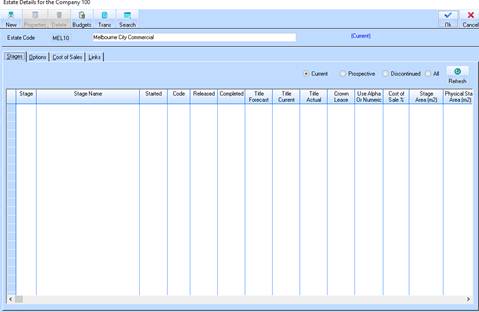
7. The Number of Stages field is a system generated field that displays the number of Stages attached to the Estate.
8. The Number of Lots field is a system generated field that displays the number of Lots attached to a Stage.
9. The
Date Started field will default to the current date. You may change the value by
selecting the drop down  arrow. For example, leave the default and
press the Tab key.
arrow. For example, leave the default and
press the Tab key.
10. The Date Completed field is used to enter the date the Estate was completed. Leave the field blank and press the Tab key.
11. The Exchange Delay in Days field is utilised by the Overdue Exchanges report to determine how long after the exchange date a sale in this estate will be deemed to be overdue. The value of this data field will default to the same number of day’s setup in the Development Ledger Defaults. Leave the value as defaulted and press the Tab key.
12. The Title Issue Delay in Days field is used by the Overdue Settlements report to determine how long after the title issued letter was sent to the client that the settlement is due to take place. If the sale has not settled this number of days after the title issued letter was sent then the sale will appear on the Overdue Settlements report. Leave the value as defaulted and press the Tab key.
13. The Rates Percentage field is used as an adjustment to calculate the rates amount when issuing the settlement notice to the client prior to settlement. Leave the value as defaulted and press the Tab key.
14. The Region field is used to indicate the area where your Estate is. This field is used purely for informational purposes. Leave the field blank and press the Tab key.
15. The Status
 radio buttons indicate the status of the
Estate. Leave the value as defaulted and press the Cost of Sales tab. The
following window will be displayed:
radio buttons indicate the status of the
Estate. Leave the value as defaulted and press the Cost of Sales tab. The
following window will be displayed:
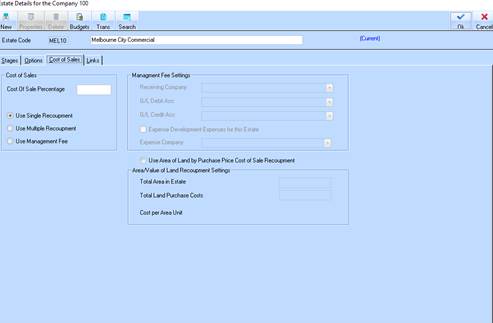
16. This tab window allows you define the important rules on how you are going to recoup and calculate the costs of sale for all sales that occur in this estate.
17. The Cost of Sales radio buttons profoundly affect the way the sales process handles the calculation of the cost of sale value when you process a sale. You have three options, each of which applies to both the Lot and Improvement portion of the sale.
•The Use Single Recoupment radio button instructs the system to use the Cost of Sales (or Cost of Sales) percentage you set up against either an Estate or Stage and applies this to your sale price. For instance, if your sale price was $100,000 and your Cost of Sale percentage is 45% then the sales process will calculate the cost of sale for the lot as $45,000. The system will then process a debit and credit against the relevant General Ledger account based on this amount.
•The Use Multiple Recoupment radio button works the same way as the single cost of sale to come up with the total value of cost of sale (e.g. $45,000), however when you set up your Stock Type you would flag the record as a Multiple Recoupment then build a matrix of Development Cost and Cost of Sale Cost Centre. This method is particularly useful if you wish to divide the cost of sale journal across many cost of sales accounts as opposed to a single account.
•The Use Management Fee radio button is the management fee that applies a fixed value as a cost of sale. This value is set up (including tax values) in the development ledger defaults. You can only have one of these options set per estate. However, no matter what rule you set here the Total Land Cost recoupment will be calculated as well.
18. The Total Area in Estate field is used to input total area of the Estate in square metres. It is related to the Total Land Cost field.
19. The Total Land Cost field is used by the system so that when a sale is processed and this has been selected, the system will read the Area on the Lot/Block and apply the cost defined here. This is achieved by taking the value in this field and dividing it by the Total Area in Estate input.
20. If a user selects the Use Management Fee option, the system will enable the Management Fee portion of the window. The following fields are available:
•The Receiving Company field is used to nominate the parent company that will receive the management fee when a sale is processed in this estate.
•The G/L Debit Account pick list is used to indicate the General Ledger
account that will be debited at the time of processing a sale in this estate.
Select an item in the list by pressing the dropdown arrow.
Press the tab key.
•The G/L Credit Account pick list is used to indicate the General Ledger
account that will be credited at the time of processing a sale in this estate.
Select an item in the list by pressing the dropdown arrow .
Press the tab key.
.
Press the tab key.
•The Expense Development checkbox is used to trigger the system to expense the company specified in the Expense Company pick list.
•The Expense Company pick list is used to nominate the Company you wish to Expense costs from the Accounts Payable invoice entry to be posted.
21. The Use Area of Land by Purchase Price Cost of Sale Recoupment checkbox is indicates that you wish to use the inbuilt Land Area calculation to recoup your initial land costs at the point of processing a sale in this estate.
22. Select the Links tab. The following window will be displayed:
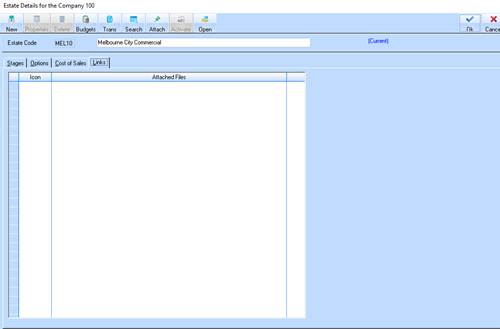
23. The Links window provides you with a mechanism to attach documents of all file types to the Estate. This could be used to attach maps, correspondence or other relevant documentation pertaining to the estate.
24. To attach a file, simply select the Attach button. The following dialogue box will be displayed:
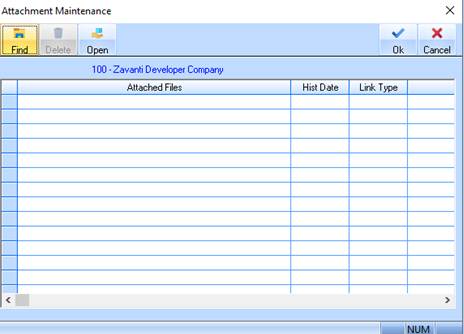
25. To select a file to attach to the Estate, select the Find button. The following dialogue box will be displayed:
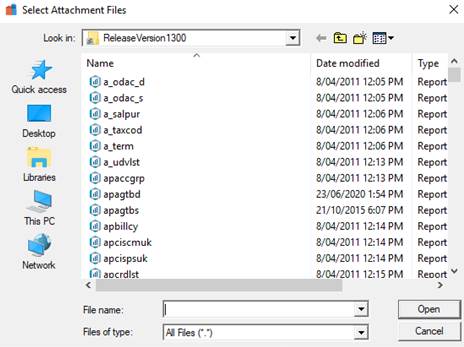
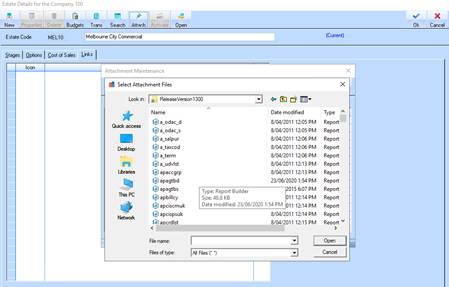
26. Select an item from the list and press the Open button. The following window will be displayed:
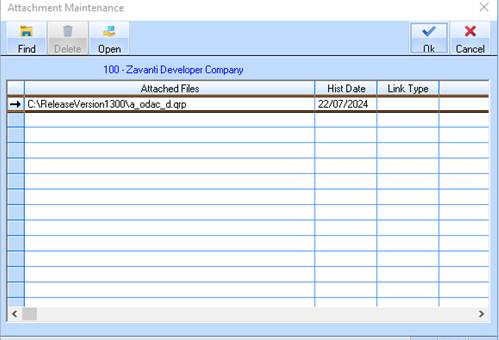
27. To open the file, select line item and press the Open button.
28. To delete the attachment, select the line item and press the Delete button.
29. For example, select the OK button. The following window will be displayed:
30. To save the Estate record, press the OK button.
