The following procedure outlines the ‘default’ options to be used when importing a Feasibility generated using the above procedure described in Step 1 above. There are additional ‘advanced’ capabilities in the import process that are not covered here. If advanced import options are to be used, training will be provided.
1. In the Development Ledger Module
2. Select ‘Feasibility Import’ option from the ‘Utilities’ menu
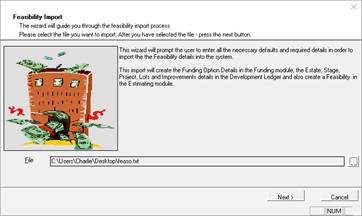
3. This process calls the Feasibility Import Wizard that enables the user to move ‘NEXT’ and ‘PREVIOUS’ through the import process.
4. Select the ‘Feasibility export file’ created in step – 3 and click NEXT
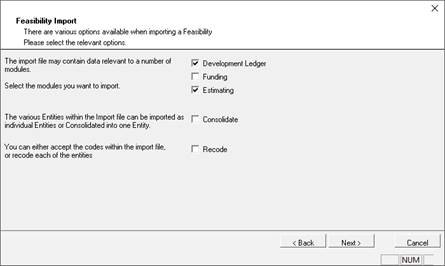
5. Select ‘Development Ledger’ and ‘Estimating’ as shown, and click NEXT
6. The screen will display the Development ledger structure that the Feasibility data is to be imported into. By default the wizard will determine this from the export file set up based on the Integration level selected in Step 1
7. If ‘Integration Level’ is set to ‘Project’ in the Feasibility Export then the Project code will appear in the window above.
8. If ‘Integration Level’ is set to ‘Stage in the Feasibility Export then the Stage code will appear in the window above.
9. Click NEXT to continue.
10. This screen will prompt the user to select the Estate and Stage required for the import of the data. The user has the option to ‘redirect’ creation of the Stage/Project and stock items under a different Estate/Stage if required than what is selected on the Feasibility export.
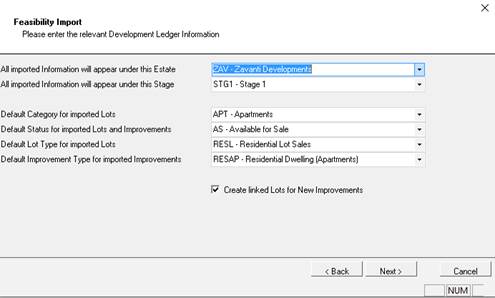
11. Select the ‘Estate’. This corresponds to the Estate code used when creating the new Development Project
12. Select the ‘Stage’. (if Integration Level set to ‘Project’)/ This code corresponds to the Stage used when creating the new Development Project. All ‘Lot’ Stock maintained in the Feasibility will be created under this Stage
|
Note |
All the Lots and Improvements created as part of the import process will be set to this default settings selected here as the Feasibility does not contain these setting. The user can then modify this setting for each lot using the Lot and Improvement maintenance in the Development Ledger. |
13. Select the default Category for the LOTS to be created.
14. Select the default Status for the LOTS to be created.
15. Select the default Lot Type for the LOTS to be created.
16. Select the default Improvement Type for the IMPROVEMENTS to be created.
17. Check the ‘Create linked Lots for new Improvements’ check box
18. This user will allow the user to ‘LINK’ a Job to the Project being set up here. However, as this should have already been completed as part of the ‘Create a new Development Project’ process, there is no need to enter any data here
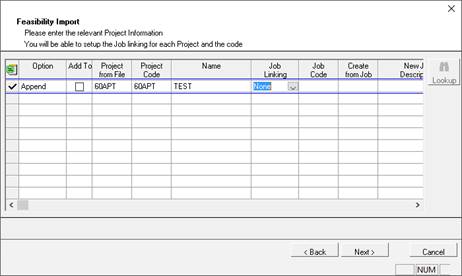
19. Click NEXT to continue
20. This screen prompts the user to enter the settings required in order to create ‘Estimate’ details that will contain the Project Budget and Forecast data. This ensure that no invalid data is written to the Estimate details.
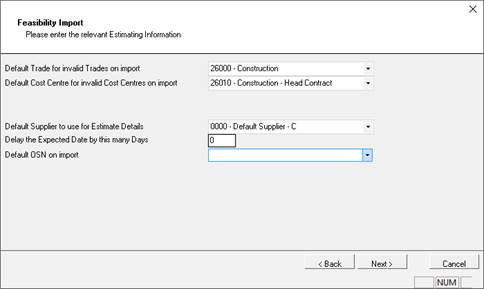
21. Select a ‘Trade’. If there are any invalid or missing ‘Trades’ on the Feasibility export file, then the system will replace those Trade codes with the one selected here. The user can then manually check and amend the Estimate details.
22. Select a ‘Cost Centre’. If there are any invalid or missing ‘Cost Centres’ on the Feasibility export file, then the system will replace those Cost centre codes with the one selected here. The user can then manually check and amend the Estimate details.
23. Select a ‘Supplier’. Select the default supplier. This is mandatory in the creation of the Estimate but is not used.
24. Enter the ‘Delay days’. This is the number of additional days that you might want to add to the Forecast. This might be used if the project has been delayed but the Feasibility has not adjusted by the delay. Usually a zero ‘0’ is entered here
25. Select the ‘Default OSN’. This is mandatory in the creation of the Estimate but is not used. Select the default OSN that is available from the dropdown list
26. Click NEXT to continue
The screen will display the Estimate number that the Feasibility data is to be imported into. By default the wizard will determine this from the export file set up based on the Integration level selected in Step 1
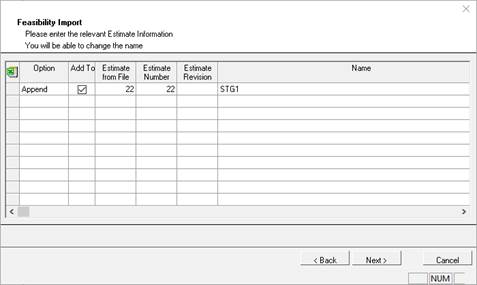
27. Click NEXT to continue
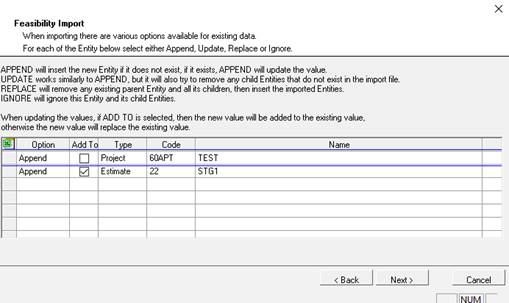
28. This screen will appear to enable the user to confirm and complete the process
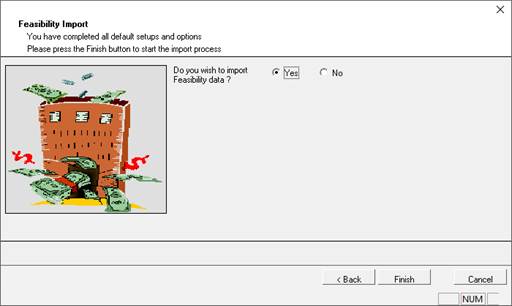
29. Select the required action and click FINISH button
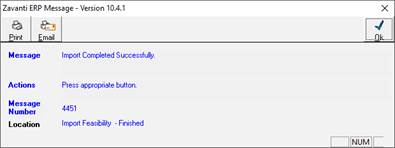
30. Once complete, the following message will be displayed