The following takes a user through the process of entering a new timesheet.
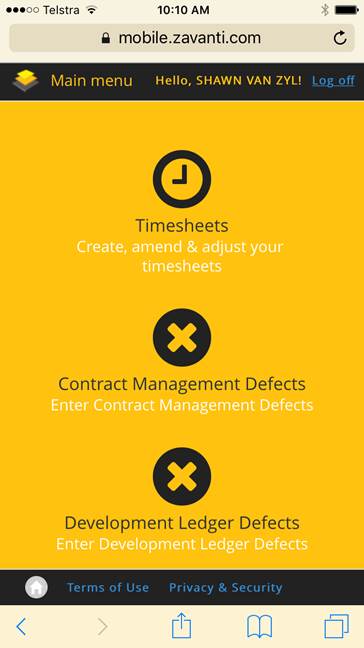
1. Select Timesheets from the icon as shown on the following screen.

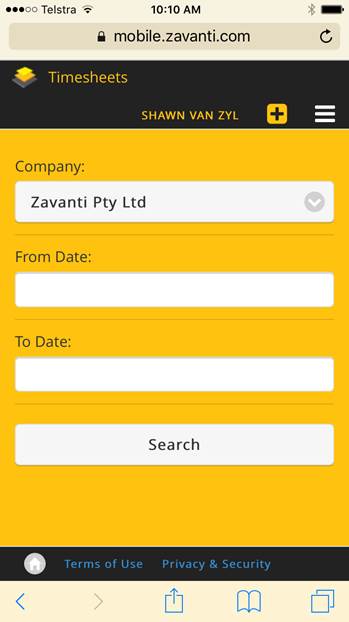
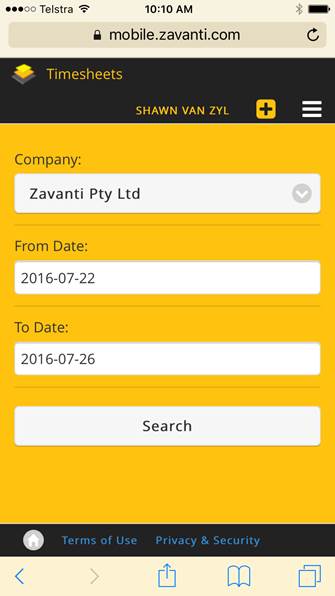
2. The user can then search for existing timesheets to edit using the search function. The user selects the start and end dates they wish to search. As shown on the screen shots below.
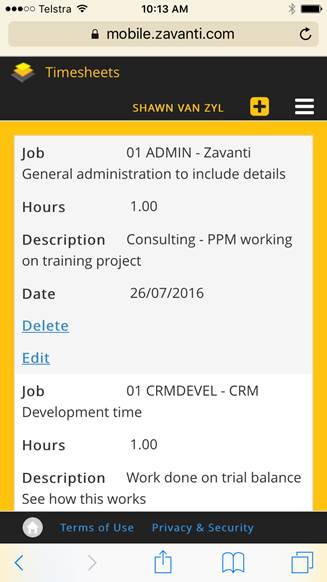
3. The user then receives details of existing timesheets within that date range and can review and edit the timesheets. The editing process is a repeat of the entry process which is described below.
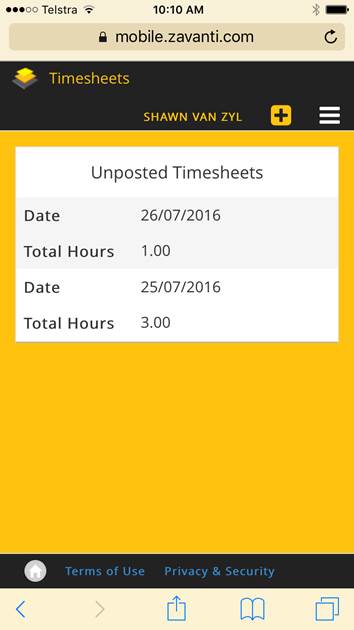
4. To enter a new timesheet the user selects the “+” button on the top menu from the search page or can access the menu drop down button.
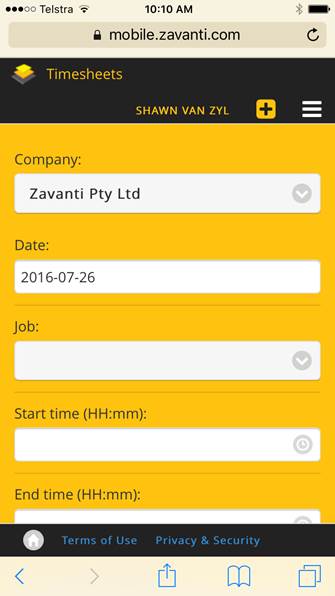
5. The user then sees the following blank timesheet and can commence adding details.
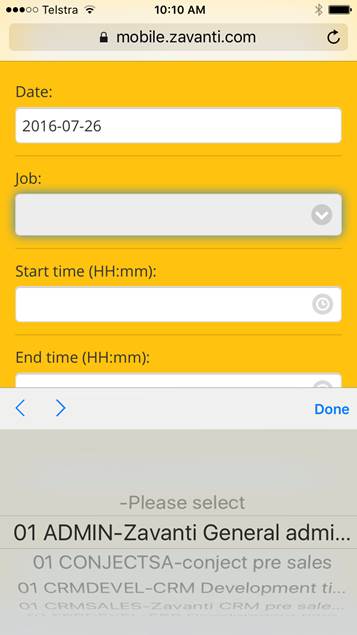
6. Step 1 is to select the relevant job, this is done by selecting the drop down button and scrolling through the list displayed, highlight the correct job and select “Done” to save this job.
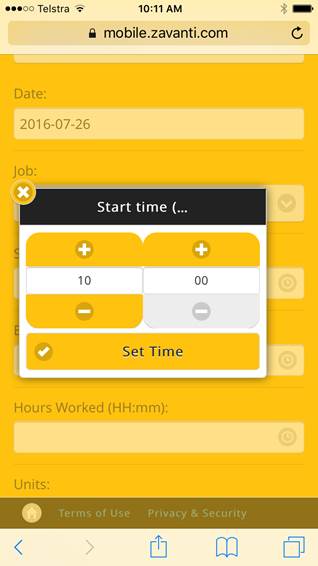
7. The next step is to select the Start and End Times using the clock. The clock defaults to the current time and can be edited using the “=” and “-“ buttons, when the correct time is displayed select “Set Time” to save the time settings. Repeat this process for the “End Time”
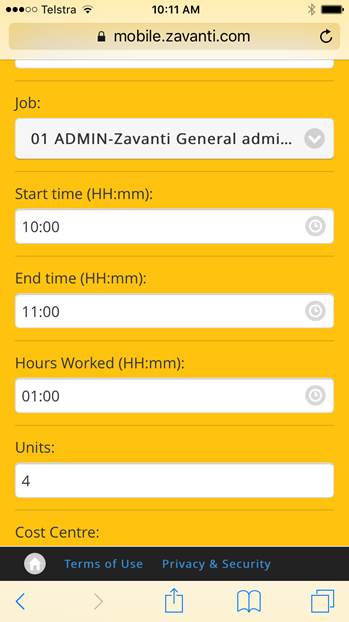
8. As shown above the total hours worked is calculated and displayed. This also calculates the units worked based upon the user profile.
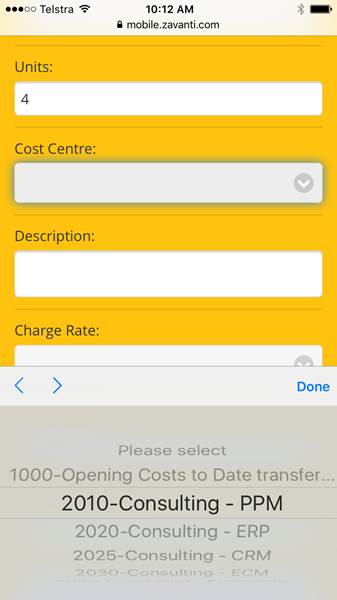
9. The next step is to select the work type (Cost Centre) from the drop down list which is displayed when the drop down in Cost Centre is selected. Once the relevant cost centre is highlighted select “Done” to save.
10. As seen below this saves also enters the rate as per the User set up.
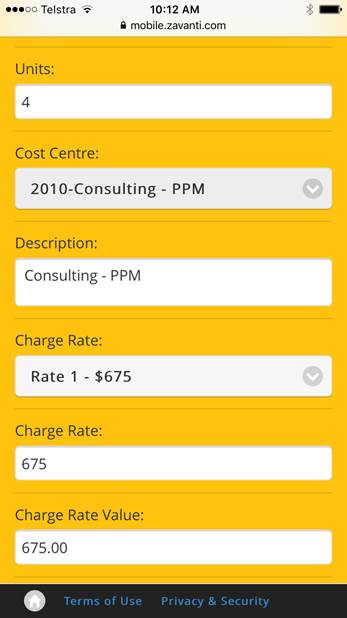
11. Note that the Description displays the Cost Centre description. This can be edited or overtyped with any free text comments or notes as shown below.
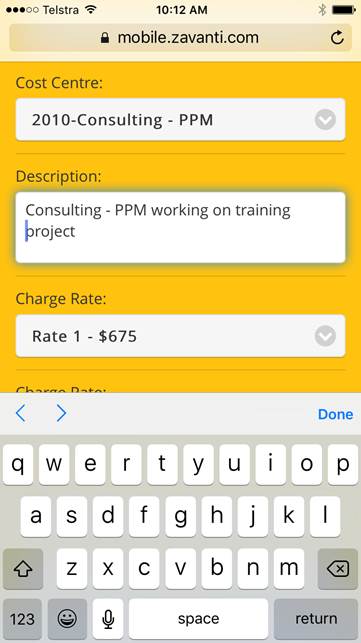
12. The User then selects “Save” to save the timesheet, upon saving a summary of the timesheet is saved for review.
